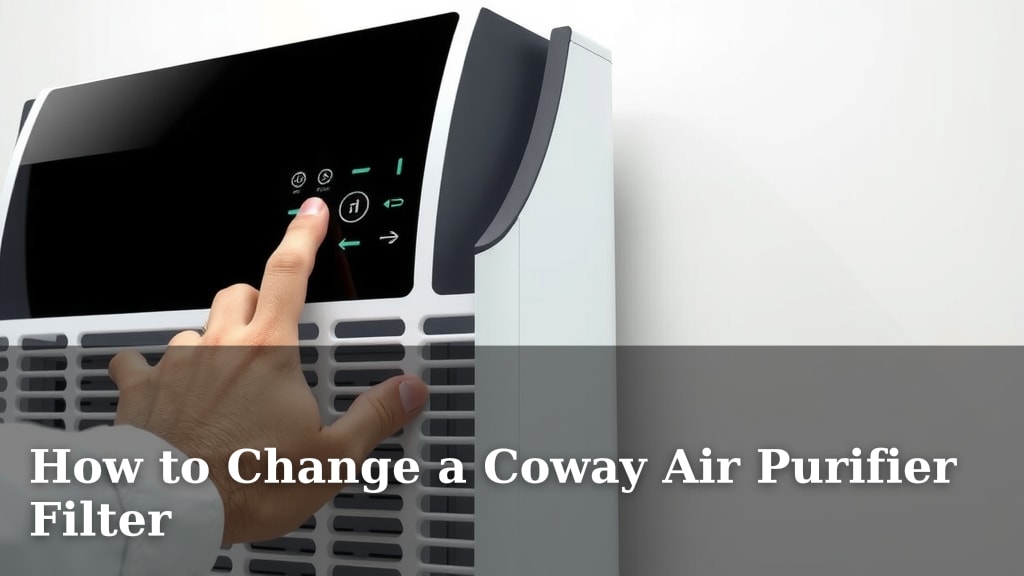
How to Change a Coway Air Purifier Filter
Changing your Coway air purifier filter is surprisingly easy and quick. You can typically swap out the old filters for new ones in under 15 minutes. This simple maintenance ensures your air purifier keeps cleaning your air effectively.
Regular filter changes are key for optimal performance. They help maintain cleaner air quality and prevent your purifier from working harder than it needs to. Think of it like giving your purifier a fresh breath of air, so it can keep doing its best job for you and your home.
- Unplug your air purifier first.
- Open the cover where the filters are located.
- Remove the old filters and put in the new ones.
- Close the cover and plug it back in.
- Reset the filter indicator light if your model has one.
Let’s walk through the exact steps to get those new filters installed and have your Coway running like new again.
Getting Your Coway Air Purifier Filter Changed: A Simple Guide
So, your Coway air purifier has been working hard. You might be wondering, when is it time to give it fresh filters? Thankfully, Coway makes it pretty straightforward. We found that most models have a filter indicator light. This light will usually turn red or show a specific symbol. This is your cue that it’s time for a change. It’s a simple reminder to keep your air clean.
But what if your model doesn’t have an indicator light? Or perhaps you just want to be sure? Many experts suggest a general timeline. For the main filters, it’s often around every 6 to 12 months. The carbon filter, which tackles odors, might need changing more often. Think about every 3 to 6 months for that one. Of course, this can change. If you live in an area with lots of pollution or have pets, you might need to change them sooner. We found that consistently clean air means consistently changing your filters.
What You’ll Need Before You Start
Before you dive in, gather your supplies. You don’t need much! First, you’ll need your replacement Coway filters. Make sure you get the right ones for your specific Coway model. Checking your user manual is always a good idea here. You can usually find the model number on the back or bottom of your unit.
You’ll also want a soft cloth or a vacuum cleaner with a brush attachment. This is for cleaning any dust that has collected. And finally, have a trash bag ready for the old filters. That’s it! We found that having everything at hand makes the process much smoother.
Choosing the Right Replacement Filters
Getting the correct filters is step one. Coway offers different filter types depending on your model. You’ll likely have a combination filter. This usually includes a pre-filter, an odor filter (often activated carbon), and a HEPA filter. Some models might have a separate filter for specific issues.
We found that buying directly from Coway or authorized retailers is the safest bet. This ensures you get genuine parts. Using non-genuine filters might not work as well. They could even potentially damage your unit. Always double-check the filter part number against your user manual or the Coway website. It’s a small detail that makes a big difference.
Step-by-Step Filter Replacement Process
Ready to get those filters swapped? It’s a fairly quick job. We’ve broken it down into simple steps. You’ll have fresh air flowing again in no time.
Step 1: Power Down Safely
First things first: unplug your air purifier. This is a critical safety step. Never attempt to change filters while the unit is plugged in. You don’t want any accidental shocks. Safety first, always! We found this is the most important precaution.
Step 2: Access the Filters
Now, you need to open up your Coway. How you do this depends on your model. Most Coway purifiers have a main cover that you lift or slide off. Look for latches or clips. Gently release them. Some units might have a back cover that detaches. Consult your user manual if you’re unsure. We found that most covers come off quite easily with a little pressure.
Removing the Existing Filters
Once the cover is off, you’ll see the filters. They are usually stacked or fitted into place. Take note of how they are positioned. This will help you when you put the new ones in. Carefully pull out the old filters. They might be a bit dusty. Don’t worry, that’s what they’re there for!
Cleaning the Interior (Optional but Recommended)
While the filters are out, take a moment to clean the inside of the unit. Use a soft cloth to wipe away any accumulated dust. A vacuum cleaner with a brush attachment can also work well. This helps maintain the unit’s performance. It’s a good practice to keep things clean. We found that a little dusting now prevents bigger issues later.
Step 3: Installing the New Filters
This is where your new filters come into play. Unwrap them carefully. Check if there are any plastic protective coverings on the filters themselves. If there are, remove all plastic packaging before installing. This is a common oversight! The purifier won’t work effectively if the plastic is still on.
Align the new filters with the slots or spaces where the old ones were. Make sure they fit snugly. They should slide in easily. If you encounter resistance, don’t force them. Double-check the orientation. Most filters have a specific way they need to be inserted. Your user manual will show you the correct placement. We found that the new filters usually pop right into place.
Step 4: Reassemble and Power Up
Once your new filters are in, it’s time to close everything up. Reattach the cover you removed earlier. Make sure all the latches or clips secure it properly. You should hear a click or feel it snap into place. Then, plug your air purifier back into the electrical outlet. Give it a moment to power on.
Step 5: Resetting the Filter Indicator
Many Coway models have a filter indicator light that needs to be reset after a change. This tells the purifier that you’ve replaced the filters. How you reset it varies by model. Often, it involves pressing and holding a specific button for a few seconds. You might need to press and hold the “filter reset” button or another designated button. Check your user manual for the exact procedure for your model. We found that this step is often overlooked but is very important.
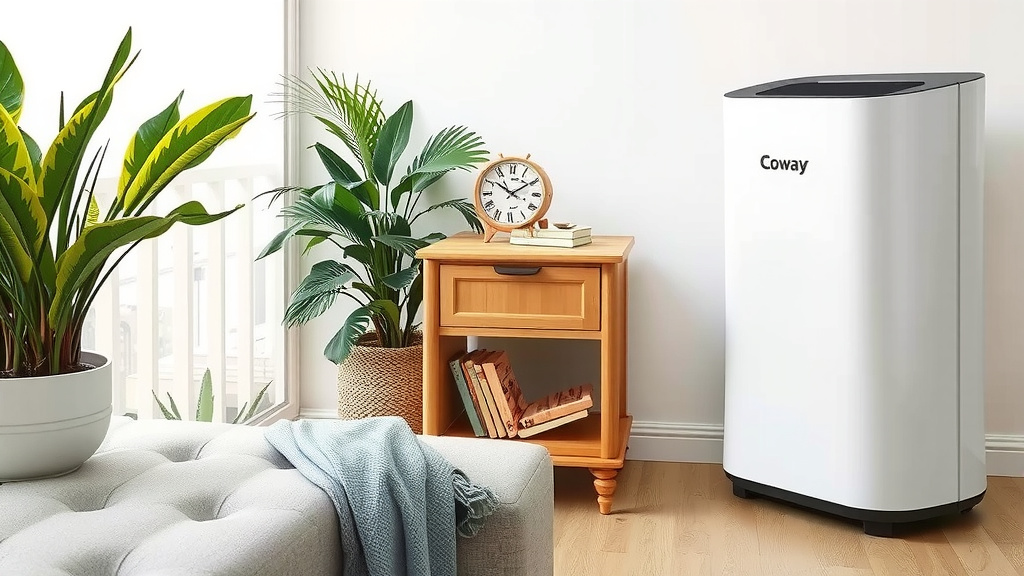
Quick Checklist for Changing Your Coway Filter
Here’s a handy checklist to make sure you don’t miss a beat:
- Confirm your air purifier model and purchase the correct replacement filters.
- Unplug the unit before starting any work.
- Remove the old filters and dispose of them properly.
- Clean the interior of the unit while the filters are out.
- Install the new filters, ensuring all protective plastic is removed and they fit correctly.
- Reassemble the cover, plug the unit back in, and reset the filter indicator light if applicable.
Tips for Maintaining Your Air Purifier’s Health
Changing filters is key, but a few other habits can help. Keep your air purifier in a good location. Place it away from walls and furniture so air can circulate freely. Avoid blocking the air intake or outlet vents. This ensures it can effectively clean your room.
We also found that running your purifier consistently is beneficial. Turning it off and on frequently can be less effective. Let it run on a low or medium setting most of the time. Some models have an eco mode. This can help save energy when the air quality is good. It’s all about creating a healthy environment for you.
Conclusion
You’ve learned that changing your Coway air purifier filter is a straightforward process. It’s a simple yet vital task for maintaining your home’s air quality. By following these steps, you ensure your purifier continues to operate efficiently. We found that regular filter maintenance offers the best results for clean air. Ready to breathe easier? Your next step is to gather your new filters and schedule your filter change. You’ve got this!
Frequently Asked Questions
How often should I really change my Coway air purifier filter?
Most Coway models have an indicator light that tells you when it’s time. If not, aim to change main filters every 6 to 12 months. Carbon filters for odors might need changing every 3 to 6 months. Air quality and usage can impact this timeline.
What happens if I don’t change my Coway filter?
An old filter can’t capture pollutants effectively. This reduces your air purifier’s performance. It might also cause the unit to work harder, potentially shortening its lifespan. You’ll also notice a decrease in air quality and potentially lingering odors.
Can I wash and reuse my Coway air purifier filters?
Generally, no. Coway filters, especially HEPA and carbon filters, are designed for single use. Washing them can damage the filter material and reduce their effectiveness. Always replace them with new, genuine Coway filters.
My Coway model doesn’t have a filter reset light. How do I know when to change filters?
If your model lacks an indicator, use the general guidelines we discussed. Change main filters every 6-12 months and carbon filters every 3-6 months. Keep a log or set a reminder on your phone to track filter life.
Is it okay to use third-party or generic filters for my Coway air purifier?
We recommend sticking to genuine Coway replacement filters. Non-genuine filters might not fit correctly or perform as well. Using them could potentially impact your purifier’s efficiency or even damage the unit. Always check your manual for recommended filter types.